Saturday, February 21, 2015

Life Lessons in Quilting

About 8 years ago, not long after we bought our house, I selected a big stack of plaid flannel fabrics at my local craft store, with the intention of making a throw quilt for the living room. That stack of plaid flannel fabrics has been moved around the house as we've adjusted over the years, switching rooms with me when my craft studio moved, testing out various storage spaces for me. It was not alone. There are other stacks of fabric chosen for very specific things, still lingering in their places on my shelves.
This is Plaid Explosion

I decided I wanted to do something about this, so on January 31st, I gathered the plaid flannel and started ironing. I set out when I began this quilt with two somewhat specific goals - do my best, and don't let it linger. That was 18 days ago, and tonight I finished it! (draft originally written on 2/18) I see places where I want to continue improving my skills, but overall, I believe I met both goals. More importantly, I learned a few things in the process.

Bias Tape Maker Smooths the Process
New Walking Foot Helps Move Things Along


Experience has taught me when to adjust my sewing plans, such as adding that patchwork strip along one side of the backing when I realized it was just a few inches too narrow.
Mistakes Become Design Features

 A few years ago, it would have really burned me up, and I would have kicked myself for messing up the measurements or completely resewn the back to keep to the original plan. Sometimes in life, things don't line up quite the way we expect or wish them to. We can bust our butts trying to backtrack and make things "right" or we can check our resources and skill sets and find a way to adjust. Yeah, when applied to a quilt, it might not seem like an important lesson, but who ever said I would apply it only to quilting? :)


I admit to doing a couple little happy dances as I finished certain stages of it, and again when I could snuggle underneath the completed quilt.

  
Connecting the Blocks

Bad Math Means 2 Quilts!
Snuggled around my legs
I was thrilled by the stacks of completed blocks, even after I realized they were three times as big as they needed to be (the stacks, not the blocks). Now I'm that much closer to one more quilt. I have enough blue plaid to do the backing, too, and maybe I'll even measure it correctly this time. Anything's possible! But those leftover blocks - it's an easy metaphor for finding the silver lining. I made a mistake, but it only resulted in getting more work done than I thought I was. Not so bad.

Wednesday, February 4, 2015

When Craft Plans Go Wrong

A few days ago, a facebook friend posted this image:


That statement, that simple little lesson, was suddenly very important to me on many levels. Oh sure, there's a bunch of psycho-self-analysis and inner growth happening with this new look on life, but today I'm going to apply it to crafts. Specifically to yarn. This yarn is lovely, don't you think?


I thought it would make a nice scarf or cowl, and I was looking for a crochet project because I like to mix up my crafting from time to time. I picked out a pattern and happily started that first chain of 120 stitches. Let me just say now that it's much harder to "be sure not to twist" when joining a chain than when joining stitches on a needle. At least with the needles, there's something to help guide you.

I haven't done a lot of crochet work before, and had never done anything with chevrons. This cowl is made of a circle of zig-zags, and was an easy to learn pattern so I didn't have to worry about a printed version. I was please at first, but by the time I hit the 4th row, I was starting to worry a bit. I started the 5th row and my concerns became more obvious.


If I completed this thing, I would look like I was wearing an afghan from 1977 around my neck. And like I belonged in that photo shoot with the men wearing crocheted shorts. Oh, you haven't seen that? Well here, it's great for a laugh.


So... I'm frogging those 4 1/2 rows of crochet chevrons and will find another use for the "1970s appliances" colored yarn. Despite the time I spent on it - I won't hang on to this mistake. :D

Friday, January 30, 2015

Finishing Things Left and Right

...and it's not even February, yet!

Last week I finished up a pair of mitts for me, a scarf that was busy knitting, and an embroidery lotus from my chakra wall hanging project. Not only did I finish all these things, but I did the button sewing, end-weaving, soaking, blocking portions of things as well!

I'd love a photo of them on my hands, but I didn't have another photographer at the time.
These Felicity Mitts were started as a sort of Yule gift to myself, though they got put on hold when I started hitting crunch time on the actual gifts for other people. This yarn was leftover from the Dragonfly Tam, and I thought it would be really cool to have a pair of coordinating fingerless mitts. I've even thought of buying some plain cream gloves to wear under them on really cold days, so they'll match even better.
Sadly, this tam seems to have gone AWOL since last winter. :(
I finally realized I was ridiculously close to done and spent a couple evenings of knitting and catching up on old Castle episodes to finish them. After a soak and a day on the drying rack, I tried them on and literally clapped my hands and bounced around like a five year old. I'm so excited to have them done, and just hope I can find the hat to wear them together eventually!

I could have finished them earlier, but once the holiday rush was over and I had officially gifted the last knitted/crocheted gift, I cast on a simple scarf with some beautiful Mini Mochi yarn. It was a simple stitch pattern that worked really well with the color changes in the yarn and turned out beautifully (imho).

I just love the colors in this!


And last, but not least, I completed the third in my chakra embroidery series. They will eventually be pieced together in a quilted wall hanging, but for now, they are serving as a learning tool. On each lotus, I've been doing a different embroidery stitch, practicing the technique. It's working out well, and I can actually see improvement in my stitching when I look at where I started and ended each lotus.

Third Chakra Lotus


Sunday is the first of February and I hope to be finishing lots of things and posting on them throughout the month!

Monday, March 31, 2014

Of Petrichor and Amortentia

Petrichor - the smell of dust after the rain. Yeah, I admit I hadn't heard the word until "The Doctor's Wife," an episode of Doctor Who where it was used as part of a psychic password. The idea of a psychic password based on scent is really ingenious, much like the Amortentia potion from Harry Potter that smells differently to each person based on what they find attractive. There's really no shortage of blogs, websites, forums, articles, and books out there about the power of scent, so I'm going to focus mostly on my own experiences here.

taken from my front porch after a summer rain
I've long been aware of the power of certain scents. I have both asthma and migraines that are triggered by most perfumes and chemical smells, so I spent a lot of my young adult life discovering which scents were okay for me, and which would cause blinding pain or extreme coughing fits. Those latter ones I still like to stay away from. Still, there are so many lovely scents, and they do trigger some powerful feelings at times. I'm sure many people have this reaction, but the smell of freshly baked bread makes me feel at home no matter where I am. Citrus-y smells always make me smile and feel more cheerful.
herbed Italian bread - I really should make this again soon
The smell of the rain - that one is harder to put into words. It relaxes and energizes me. It calms and excites me. It soothes my soul and stirs my spirit. I associate it with all things Mother Nature, and creation, possibility. Petrichor is only one scent associated with rain, but I love them all. The freshness of it, the ozone from storms, even the days when it's been raining so long that you can't smell anything but "soggy" don't seem that bad to me.
 

Over time, I learned that the more natural the scent, the more likely I'd be okay with it, and as I got a bit older and more aware of environmental issues, I quickly learned I preferred the natural products in most cases. I guess this is what led me to using essential oils. I think my first time consciously using aromatherapy was around 2000, maybe 2001. I had learned that peppermint oil could help with headaches. I would mix a drop of it with a dab of unscented lotion and rub it on my forehead when I felt the ache coming on. It was kind of amazing. Eventually, I decided to add some lavender oil to help with relaxation, and over time, it evolved into my "Clear Head" oil blend which we still use around the house all the time. It helps with headaches and mild congestion.
Clear Head Oil Blend
It's really kind of incredible what scents can do for us emotionally and mentally. I guess I shouldn't have been surprised that they could help physically, too. I started studying herbalism and aromatherapy, even looking into certification a few times. I amassed quite a collection of dried herbs and essential oils, carrier/base oils, vegetable/plant butters, and more. I started out by reading several sources from certified aromatherapists, and received a most excellent reference book from my friend Koren. When I had a problem, like a blister or sore throat, I played around with several combinations and trials based on recipes recommended in the book or on a couple select websites.
I ended up turning this blend into a spray as well. It's very relaxing.
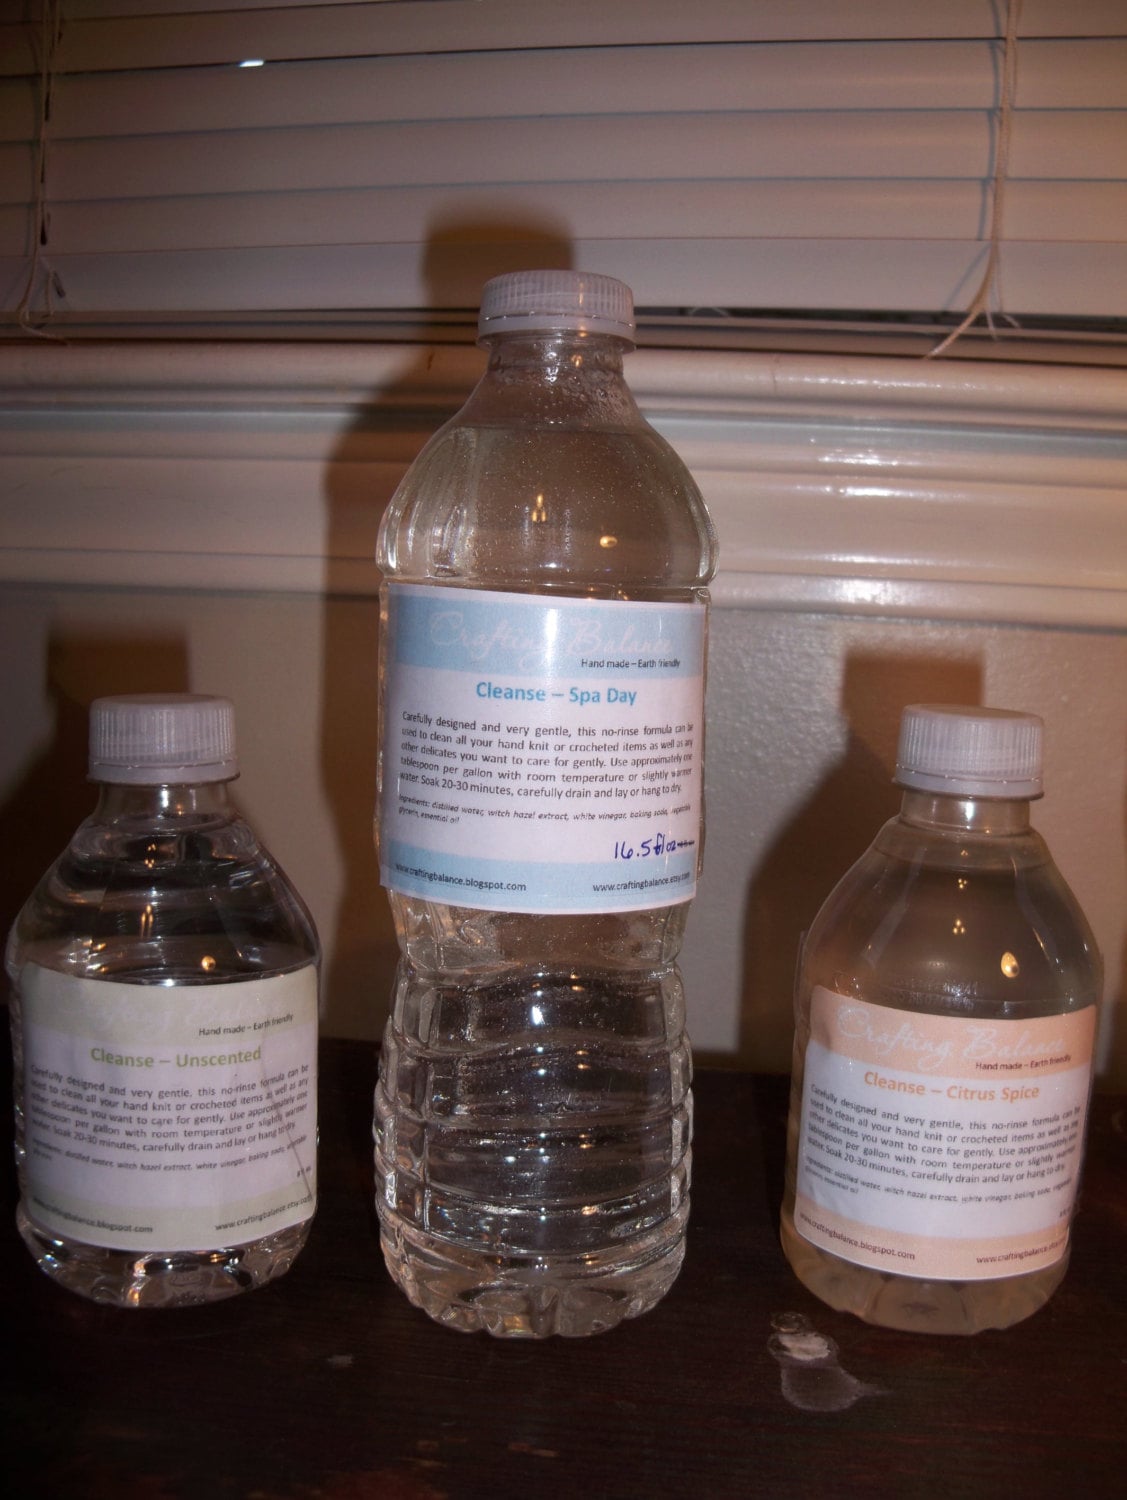
Of course, like all my "recipes," they start off as suggestions, and then the creative switch in my brain flips and suddenly I know I need to add a little more of this, or I wonder if I should try some of that instead. Ultimately, I discovered there are things I prefer not to make. I'm not fond of making body butters, though I did get some good reviews from them while I had them. Now I stick mostly to the bath teas, rooms sprays, and oil blends, plus the occasional custom order here and there.


I still learn something new about it all the time, and try out different oils for different things here at home. Between the herbs and oils and all the different applications possible, there's a lot to experiment with, and that's half the fun of Making anything.

Sunday, March 23, 2014

Bella's First Quilt


My baby cousin Ella, first quilt I made completely alone

Baby Quilts - is there anything more awesome to Make? They're adorable, and relatively quick, and have endless possibilities, and they're fantastic gifts for the new baby and parents, they show love for a new person, and there's always a charity, hospital, shelter, or NICU that can take them as donations as well. I've made a number of baby quilts over the past eight years, but today I want to tell you about the very first one.


Shortly after I learned to quilt with a little hand-stitched potholder at a resort in the Smoky mountains, I learned that a couple dear friends of mine were expecting their first child. I knew several other members of our mutual community were also crafty, so I posed the idea that we join together to make a quilt for this baby. 

Dot's Quilt - A Community Gift
We had a color pallet based on a request by the parents - red/orange/yellow. We had several willing participants. We even had a couple people with actual quilting experience! (Yeah, sometimes I jump right into projects and figure them out as I go.) Unlike Ella's quilt, which was a simple nine-patch, I went with the "please contribute your choice of quilt block at x inches square" option.

 
        that middle square is a pocket for teeth & tooth fairy gifts       tote bags are always handy when you have kids!
I got quite the collection of quilt squares - more than I could possibly use in a baby quilt - which allowed us to make it a full crib-size quilt, and give a coordinating tote bag and tooth-fairy pillow. Some of the people involved had never done any quilt piecing before, but they were willing to jump in with both feet and learn on the fly with me so we could present our friends with this bunch of love.


Of course, no matter how lovely the finished product was, there's a story in the process we went through to get there. You see, most every "how to quilt" blog or website will tell a newbie quilter to prewash all their fabrics. Well, I read on one of these sites that if you don't prewash, then once you layer and quilt, the fabric will shrink and the batting won't and - well, it made it sound like that would completely ruin the quilt (turns out it won't, but it will give it a slightly more "wrinkled" look). I decided I would prewash the front and the back before I quilted it all together.

Thankfully I learned my lesson before future quilts, like this one for my niece, Lucy
I ended up calling my dear friend and quilter, Kade, and honestly I'm amazed she could understand what I was saying because I was crying so hard about how I had ruined the quilt. You see, with nothing to reinforce all those seams both within and between the blocks, some of them came undone. Worse yet, some of the fabric raveled. A lot. What came out of the washer, well, I wish I had a photo of it to show you, but I was so distraught at the time I couldn't bear the thought of photographic evidence of my royal sized screw-up. It was a tangled mess of partially connected quilt blocks and lots of knotted threads.


Kade was awesome, and when we had a chance to get together so she could perform triage on the quilt top, she helped me get it back together and suggested the sneaky addition of extra fabric for those places that frayed. See these black bits that beautifully coordinate with the embroidery details? Yeah, that's where we fixed the holes. I felt especially sad about those blocks being the most damaged because they were so special with their messages and extra detail. They'd been an obvious choice for the four corners of the quilt (and I was floored to discover that my friend Love had never does this before!) Still, thanks to some creative thinking and a skilled quilter sharing some of her secrets and experience, it all came out in the end and as you can see, it became a beautiful quilt!


The child in question is now about to turn eight, and I still see and hear stories of both she and her nearly six-year-old sister sleeping and playing with this quilt. As a toddler, it was declared "her favorite" and every time I see it, I think of all the love and hopes and dreams for her that went into every stitch of it. Some of the participants watched as the hand stitching was done along the binding, and learned enough to do some of it themselves, even if that was all they could do. But each and every bit of it was done with the express intent of sending love and happiness to the recipient, and that's the magic of handmade items. That's the wonderful thing about crafting, and it's just more wonderful when applied to babies. Because... babies. :D

Saturday, March 15, 2014

How I knitted a picture from my brain...

Once upon a time, I looked at a tam pattern on Ravlery. I can't remember which one, but it was the first time I understood the construction of a knitted tam, and suddenly, I had a picture in my head and I knew I needed to duplicate it in yarn.


I'd only done a few colorwork projects but I felt pretty sure I could combine that with the basic tam pattern and make it work. I had some beautiful hand-dyed yarn in a colorway very appropriately called "Elemental" that had been calling to me for a color work pattern. I'd searched around and ordered some creamy-colored fingering weight to go with it.


Yes, that's a bunch of math and factors on that page under the yarn. Turns out I really can use math after high school! I worked out that I wanted to have the dragonfly repeat eight times, and the gauge times the size of the tam gave me the number of stitches I would need.

I worked out the design of the dragonfly on some graph paper, then transferred it to an excel chart, but before I could actually knit these dragonflies, I needed something for the brim. I charted out some small, repeating patterns (there was more math involved) and I finally got to work!


I was thrilled that the edging patterns turned out well, and not long after the above photo, I was finally starting the dragonflies heads. I remember doing a little happy dance for myself when I got to that point in the charts. I was so excited to see this come to life! It's that feeling of creation, of bringing something out of your imagination and into reality, that's what really drives me to Make things. I'm realizing more and more that I feel better and more alive on days that I do something creative, even if it's a little thing. Working on this tam, though, that was a thing that was both little and big at the same time. I was making this whole new pattern (and at the time, I had only found one other tam pattern using fingering weight and stranded color work) be an actual, wearable object, but I was also just doing a little knitting every day. 


As the images grew and I could make out the shapes and see that it was working, I got more and more excited. I also began to notice how even just one row of knitting, seemingly such a small thing, was enough to add to the design, to give a hint of wings, or to add to the lacy effect within the wings, or - as in the above photo - to show the first hints of the second wing. Not long after those second wings, it was time to decrease, and before I knew it, my first design was complete.


I almost decided to leave it like that, beanie shaped instead of tam shaped, but I ultimately decided that tams look better on me. Into the water it went, and then stretched over a plate to dry.


Remember those edging designs? Here's how they turned out...


And then you can see how it looks when worn...

And for those with smaller heads, here's a version with only 7 dragonflies instead of 8


That last one - the smaller sized one - it was knitted by someone else. I actually had a handful of fabulous people who tested the pattern for me on Ravelry, and it was only thanks to them, and a wonderful graphic designer friend, that I was able to take this whole thing and not only create a physical hat, but also a hat pattern .pdf that I could sell. 

I remember when I first posted it in my Ravelry shop, and how I thought it would be completely awesome if someone actually bought it! And then, someone did! And someone else! And another! I couldn't help my moment of "they like it! they really like it!" It's now available in my Etsy shop as well.

I've currently got another tam pattern in progress, and even had some yarn custom dyed for it! I don't want to say much about it yet, because I'm still a bit worried it will turn out looking horrid, but I promise to post with lots of pictures once I've got it done!