Sunday, July 23, 2017

Creative Blog Resurrection & Trying New Techniques

I started this blog to give me a place to ramble about and record my various creative works. I'm sure there are many reasons I quit posting as much, but I think one of them was the idea that my posts had to be perfectly worded with optimal layout and multiple angles of photos of the same thing - you know, like every other crafting and recipe blog out there. But see, that's not the point of this blog, and I don't need to let some internalized imaginary standards keep me from this. I want this blog to be a record for me, and secondly, a way to share with those interested in my art.

So here goes. I've recently spent a little time experimenting with new techniques in some of my favorite mediums. In sewing, I tried out 'confetti quilting' which I had seen in some art quilts a while back. It's often used to create leaves on landscape quilts, like in this image from craftsy:


I wanted to try something a little different with mine, so I decided to use it as a background for applique. Then I just needed to find the right image for it. I scrolled through tons of my digital photos and finally settled on this one from my garden a few years ago.

I don't have a green thumb, but bulb flowers are pretty easy.


I traced out that front flower on freezer paper and used it as a pattern. I gathered a bunch of earth-tones to cut tiny pieces for the confetti background, and found some butterfly print cotton in my stash to use for the flower petals. The finished result turned out better than I'd hoped and became my dad's Father's Day gift once I found a mat & frame for it. Those gold bits in the middle to represent the stamens? Those are part of the butterfly wing print. I positioned the pattern pieces for each petal to put those in the right spots.


The next new thing I tried was 3D collage. Now, I've done some 3D collage before with fabric and thread. The only paper involved were some tarot cards I attached. (examples below)
 

and I've done collages that were just paper and glue, like these:


But I wanted to do something in between, and had the idea of creating art around a photograph of a person. I started with a canvas and some paint. I had no real plan in mind here, but I wanted a background for the finished product. I did a few messy, blended layers of acrylic paint, trying out different things to get a splotchy, interesting background. Then I started gluing on texture. Some torn bits of text from old books and magazines, pieces of sheer ribbon, a few bits of old lace doilies, even random snippets of frayed cotton thread. Some of that got painted over again. I pulled out the hairdryer to dry parts of it faster.

Now here's where I wish I had taken process pictures, but I didn't. Once the background was dry, I cut out the photo - this one happened to be my cousin because I had 2 large prints of this photo available. (How and why my mom ended up with 2 16x20 prints of my cousin's 1 year photo is beyond me, but is not the most confusing thing I inherited.)

So, I cut out the photo, attach it to the canvas, and start covering the edges with flowers I cut out from various magazines. There are random bits of ribbon, some paper flowers by her head, a collection of buttons and shiny bobbles, and a few tiny mirror squares. I found the quote "you've come a long way baby" while searching for flowers and decided it was the perfect thing to put  on here, too. 


Response from the cousin in question when I sent a photo was "wow" further clarified as "good wow with a little wtf?" I know it's a little unusual, but hey, so am I. I think I like it, but I'm still considering. And like, what other ideas could I use here? I think I want to make some more, with different materials, but that's the trouble - finding materials for this kind of work isn't easy.


Tuesday, August 16, 2016

I've made a lot since my last post. I'm working on a novel (or maybe novella, we'll see). I've written more poetry, and even got one published! I've completed a Sith robe, a certain impending grandchild's nursery, and several smaller projects that I'm hoping to add to my etsy shop soon.

I make Food!
blackberry cake w/ cream cheese frosting
chicken tacos
peach upside down cake  

strawberry parfait
pasta bake
pulled pork arepas

This is just a sampling of tasty foods I've made recently. I really enjoy cooking, and would love to find a signature dish. I watch the food shows and people talk about their signature dish and I ponder it and I think, "Man, I can't narrow it down. There's so much I love to make." And then I realize how very much that applies to me in all things creative.

I make Photos!


I got to play with a nice digital Nikon while visiting friends, so I got goofy/creative with it at times. From top left: antique bookshelf in an old plantation house we visited, blueberries, a flower, steampunk art installation outside a Memphis club, dragonfly (there were dozens of them in this one area, I managed to zoom and crop the photo to get this), random license plate I saw, museum Texaco sign (my grandfather used to own an old Texaco), and petrified wood. 

I made Friends!
I already knew all these people, but some of them didn't know each other and now they're friends and it's awesome. :)


I make stuff from Fabric!


Basic tote bag with interior pockets and stabilized bottom. I'm planning a small quilt (baby or lap sized) to match this and hope to sell them as a set. The bag was fun, especially since it's from a book with a lot of variety and flexibility in bag options. I look forward to making more of these.
 
Sith Robe - a commission
This was interesting - a learning experience in creating patterns from instructions, but I made it work and it came in at the estimated budget and the customer is happy, so all is well.


Baby Quilt - for sale


I loved working on this baby quilt because of picking out all the fun, colorful scraps. It was originally going to be my first hand-quilted item bigger than a pot-holder, but I soon learned that my hand doesn't like that grip + motion, so I'll keep machine quilting things instead.

The back of this quilt is a soft, light-flannel type of fabric. I bought it so long ago I can't remember what it was called, but I think it would be lovely for any baby wrapped in it.

Large carry-all bag


Funny story - about a decade ago when I first started sewing, I decided to make a funky patchwork/strip skirt for Heather. I picked out all sorts of fabrics that probably "shouldn't" be used in the same garment, but I was using my artistic eye, not any kind of sewing knowledge.

The skirt turned out okay, got worn once, and then we realized it was fraying too much to continue being used. I didn't have a serger back then, didn't zigzag the seams, (again, still learning). So I made it into a bag - created a lining for it, to hide all those raw seams, attached some handles, stiff interfacing in the bottom for a little stability. It reminds me of a Mary Poppins bag in a way.

Wednesday, April 13, 2016

But I don't write poetry

My wife grins at me when I say that, but it feels so true to me. I don't write poetry. But apparently, once in a blue moon, a poem falls out of me.


Cacophony

wind blows too cold to stay out
but home blows too loud to stay in

water mutes noises, calms nerves,
turns harsh lights to mystic glowing skyscrapers...

But they're upside down

like the World when you can't go home

sounds both inside and out
then turning in again
fighting and roaring
screaming and pounding

wishing for resignation
    to end the battle

Saturday, March 7, 2015

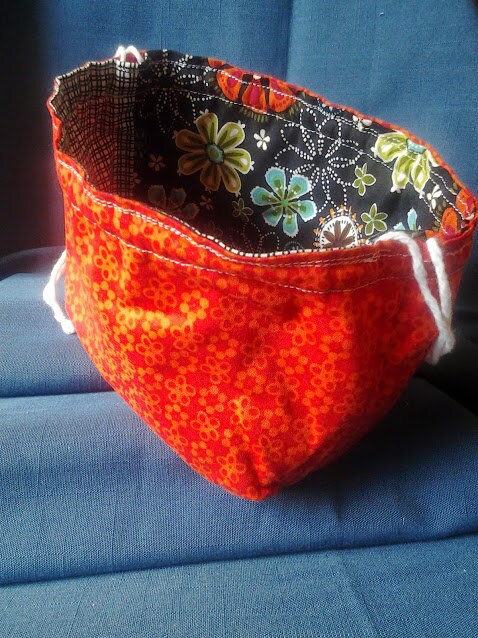
Orange, Black, Flowers - Reversible Drawstring Project Bag


8.00 USD, by craftingbalance via Etsy http://ift.tt/1A0pxro

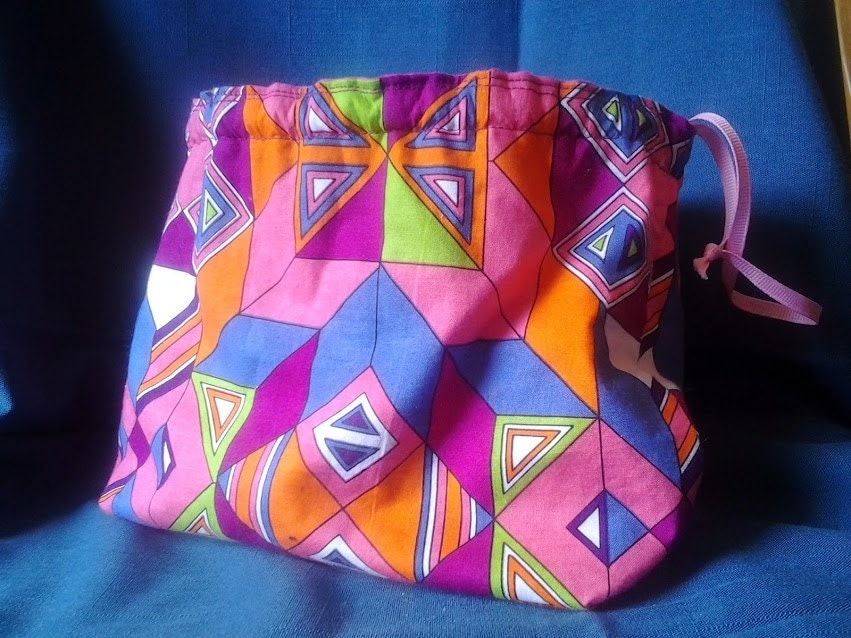
Pink Geometric Design Reversible Drawstring Project Bag


12.00 USD, by craftingbalance via Etsy http://ift.tt/1wOUunI

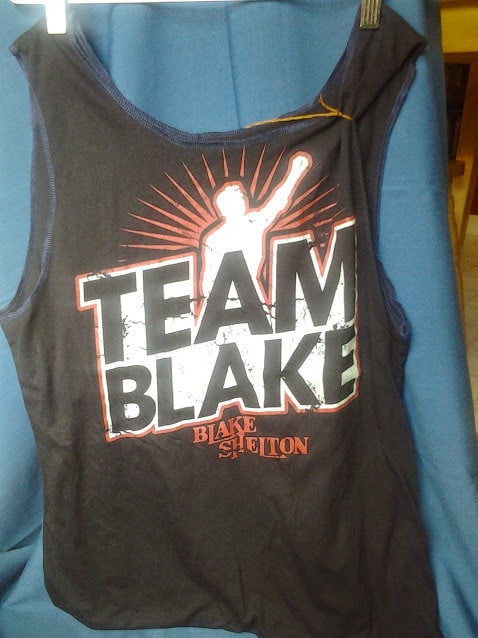
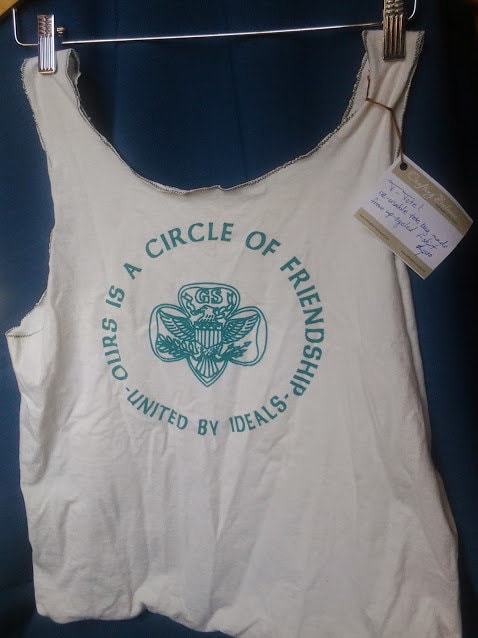
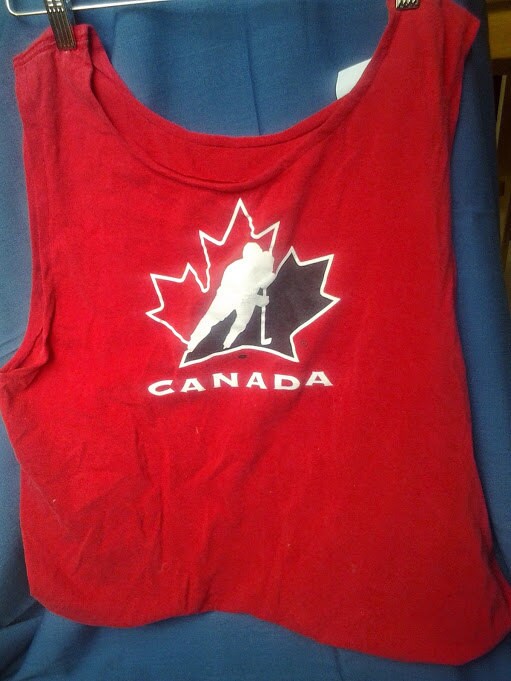
Up-cycled T-Shirt Tote Bag - T-Totes!


4.00 USD, by craftingbalance via Etsy http://ift.tt/1wOUsfA

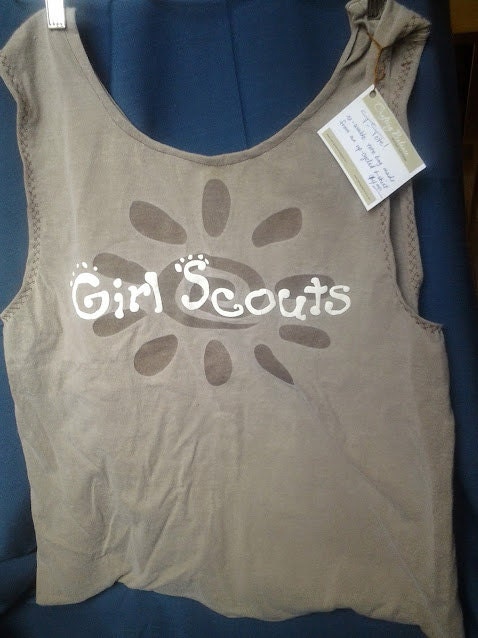
Up-cycled T-Shirt Tote Bag - T-Totes!


4.00 USD, by craftingbalance via Etsy http://ift.tt/1A0pxaO

Up-cycled T-Shirt Tote Bag - T-Totes!


4.00 USD, by craftingbalance via Etsy http://ift.tt/1wOUunA

Up-cycled T-Shirt Tote Bag - T-Totes!


4.00 USD, by craftingbalance via Etsy http://ift.tt/1A0pwUh

Saturday, February 21, 2015

Life Lessons in Quilting

About 8 years ago, not long after we bought our house, I selected a big stack of plaid flannel fabrics at my local craft store, with the intention of making a throw quilt for the living room. That stack of plaid flannel fabrics has been moved around the house as we've adjusted over the years, switching rooms with me when my craft studio moved, testing out various storage spaces for me. It was not alone. There are other stacks of fabric chosen for very specific things, still lingering in their places on my shelves.
This is Plaid Explosion

I decided I wanted to do something about this, so on January 31st, I gathered the plaid flannel and started ironing. I set out when I began this quilt with two somewhat specific goals - do my best, and don't let it linger. That was 18 days ago, and tonight I finished it! (draft originally written on 2/18) I see places where I want to continue improving my skills, but overall, I believe I met both goals. More importantly, I learned a few things in the process.

Bias Tape Maker Smooths the Process
New Walking Foot Helps Move Things Along


Experience has taught me when to adjust my sewing plans, such as adding that patchwork strip along one side of the backing when I realized it was just a few inches too narrow.
Mistakes Become Design Features

 A few years ago, it would have really burned me up, and I would have kicked myself for messing up the measurements or completely resewn the back to keep to the original plan. Sometimes in life, things don't line up quite the way we expect or wish them to. We can bust our butts trying to backtrack and make things "right" or we can check our resources and skill sets and find a way to adjust. Yeah, when applied to a quilt, it might not seem like an important lesson, but who ever said I would apply it only to quilting? :)


I admit to doing a couple little happy dances as I finished certain stages of it, and again when I could snuggle underneath the completed quilt.

  
Connecting the Blocks

Bad Math Means 2 Quilts!
Snuggled around my legs
I was thrilled by the stacks of completed blocks, even after I realized they were three times as big as they needed to be (the stacks, not the blocks). Now I'm that much closer to one more quilt. I have enough blue plaid to do the backing, too, and maybe I'll even measure it correctly this time. Anything's possible! But those leftover blocks - it's an easy metaphor for finding the silver lining. I made a mistake, but it only resulted in getting more work done than I thought I was. Not so bad.

Wednesday, February 4, 2015

When Craft Plans Go Wrong

A few days ago, a facebook friend posted this image:


That statement, that simple little lesson, was suddenly very important to me on many levels. Oh sure, there's a bunch of psycho-self-analysis and inner growth happening with this new look on life, but today I'm going to apply it to crafts. Specifically to yarn. This yarn is lovely, don't you think?


I thought it would make a nice scarf or cowl, and I was looking for a crochet project because I like to mix up my crafting from time to time. I picked out a pattern and happily started that first chain of 120 stitches. Let me just say now that it's much harder to "be sure not to twist" when joining a chain than when joining stitches on a needle. At least with the needles, there's something to help guide you.

I haven't done a lot of crochet work before, and had never done anything with chevrons. This cowl is made of a circle of zig-zags, and was an easy to learn pattern so I didn't have to worry about a printed version. I was please at first, but by the time I hit the 4th row, I was starting to worry a bit. I started the 5th row and my concerns became more obvious.


If I completed this thing, I would look like I was wearing an afghan from 1977 around my neck. And like I belonged in that photo shoot with the men wearing crocheted shorts. Oh, you haven't seen that? Well here, it's great for a laugh.


So... I'm frogging those 4 1/2 rows of crochet chevrons and will find another use for the "1970s appliances" colored yarn. Despite the time I spent on it - I won't hang on to this mistake. :D

Friday, January 30, 2015

Finishing Things Left and Right

...and it's not even February, yet!

Last week I finished up a pair of mitts for me, a scarf that was busy knitting, and an embroidery lotus from my chakra wall hanging project. Not only did I finish all these things, but I did the button sewing, end-weaving, soaking, blocking portions of things as well!

I'd love a photo of them on my hands, but I didn't have another photographer at the time.
These Felicity Mitts were started as a sort of Yule gift to myself, though they got put on hold when I started hitting crunch time on the actual gifts for other people. This yarn was leftover from the Dragonfly Tam, and I thought it would be really cool to have a pair of coordinating fingerless mitts. I've even thought of buying some plain cream gloves to wear under them on really cold days, so they'll match even better.
Sadly, this tam seems to have gone AWOL since last winter. :(
I finally realized I was ridiculously close to done and spent a couple evenings of knitting and catching up on old Castle episodes to finish them. After a soak and a day on the drying rack, I tried them on and literally clapped my hands and bounced around like a five year old. I'm so excited to have them done, and just hope I can find the hat to wear them together eventually!

I could have finished them earlier, but once the holiday rush was over and I had officially gifted the last knitted/crocheted gift, I cast on a simple scarf with some beautiful Mini Mochi yarn. It was a simple stitch pattern that worked really well with the color changes in the yarn and turned out beautifully (imho).

I just love the colors in this!


And last, but not least, I completed the third in my chakra embroidery series. They will eventually be pieced together in a quilted wall hanging, but for now, they are serving as a learning tool. On each lotus, I've been doing a different embroidery stitch, practicing the technique. It's working out well, and I can actually see improvement in my stitching when I look at where I started and ended each lotus.

Third Chakra Lotus


Sunday is the first of February and I hope to be finishing lots of things and posting on them throughout the month!